Showing posts with label baby bedding. Show all posts

Thursday, May 5, 2011

Finished Baby's Room

Baby's room is finished and I finally took pictures. It is exciting to know that in just a few weeks I can show the baby it's room. It will also be nice to know if it will be a boy room, or a girl room.

Pictures are not very good, but I promise the room looks pretty great. Not typical baby nursery, but I am really liking the bright bold colors.

View from door, girl version 
 View from door. Curtains, changing table, dresser. I still really hope to make a new diaper changing pad cover, but we shall see.
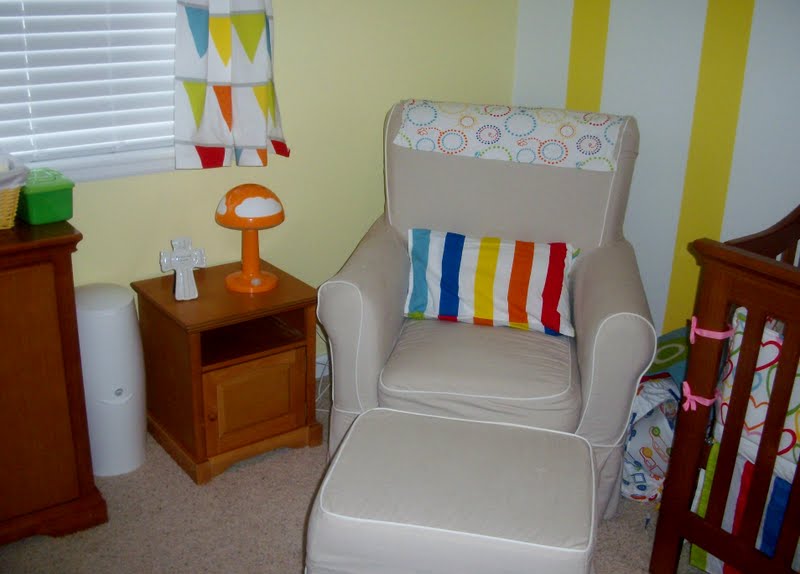
 Rocking chair ready to sing a sweet baby to sleep.
 The girl pendant, with Abigail on it.
 Girl bedding

 Mobile with animals. Slightly boyish, so I might change it if the baby is a girl.
 View from the rocking chair. I will add a growth chart above the toy box once I know what the baby is.
 Baby boy version. No name on the pendant yet, but it will most likely be Bryson or Bryce. For now everything is just pinned together.

 I hope that the baby likes it. But no matter what it is the baby's room, and I can not wait to get this little one home.

Monday, May 2, 2011

Baby's Room Pillows

Pillows are so nice and easy to make, that I had to make some for the baby's room. When Brady was a baby, pre-sewing machine, a pillow was the only thing I made for his room. He still uses it sometimes. 
 The girl version is a cut our gathered heart. I was trying to make something close to this, but what I got is just fine too.
 The back is just plain red pre-quilted fabric. (love using up the old fabric around here)
 The boy pillow is the red fabric, with an appliqued car to the front. Can you tell it is a car?
 The back is just some of the car fabric.
Both took less than a naptime to make, and were super easy.
I love easy things!

Monday, April 18, 2011

Puff Baby Quilt

A long while back, when thinking about the baby's bedding and decor, I saw this amazing quilt. I loved it, and I knew that it would be great for either baby, boy or girl. I would of had one made by her, because it looked so perfect, but it was out of my price range.
Thankfully at the time she had a tutorial up on how to make one of her quilts so I saved it, and used that. Since then she has made a pattern available for sale, which I would have purchased but I had already done so much without it. I hope that one day I can purchase something from her as a  sort of thank you.
Everything was almost the same as her quilt, I think mine is a slightly different size, and I also used my striped IKEA fabric for the binding. The quilt is the same with the bumpers. Brady never slept with his baby quilt, and only recently has he started to. I am not worried about the buttons for safety of the baby because it will not be alone with the quilt at an age where it sticks things in it's mouth. Oh and also those buttons are sewn on there so well, I doubt I could pull them off. 
Sadly, like most projects this one was not without headache. I broke 3 needles, which is a new record for me. It is very comfy and puffy but also bulky, and a lot of layers to sew through. In  the end I am very happy with it, and I think it looks great in the room! 

Saturday, April 16, 2011

Girl Bumper

The little girl bumper pad is very similar to the boy bumper. Because they are so similar you would think that this one would be perfect because I learned from all of my mistakes. Sadly it was just as difficult. I used some bumper forms that I bought at Joanns, which were in several pieces, not the one long piece like the boy bumper.
I used grosgrain ribbon for the ties, but everything else was the same.
In the end I think both bumpers turned out pretty cute, and the look great in the baby's room.  

Tuesday, April 12, 2011

Boy Bumper

When making the baby's bedding, I knew I did not want to do all gender neutral stuff so I decided to make both a boy and girl bumper. I reused Brady's old bumper pad, so that saved some money.
 I used a car fabric form IKEA that matches the primary colors in the rest of the room. It was not very hard to do, but it was quite hard to sew. I sewed each piece encasing the bumper pad, and then added the binding around all edges. Even with a presser foot for my sewing machine it was very thick and cumbersome to sew.
 Lastly I added the ties, made from the stripe fabric, and sewed down the bumper at all the places where the bumper would be at a corner in the crib. It is definitely not perfect, and if you look closely you can see many imperfections. It was quite a learning experience, and you would think it would have made the 2nd, girl bumper easier. I didn't.
But, the baby will probably never sleep with the bumper on the crib. The first few moths baby will be in our room in a bassinet. Once baby moves into it's crib, for safety we use a separate special breathable bumper. And therefore this is for pure decoration purposes only.
Regardless, I think it is super cute, and it looks great in the room. Just a few more things and the room will be all pulled together. Check back for the girl version of the bumper.

Saturday, April 2, 2011

Crib Skirt

Since I did not find exactly what I wanted for crib bedding choices, I made most of the baby's bedding myself. I was able to save a ton of money by using a lot of Brady's old baby bedding, and I used nice but cost effective Ikea fabric.

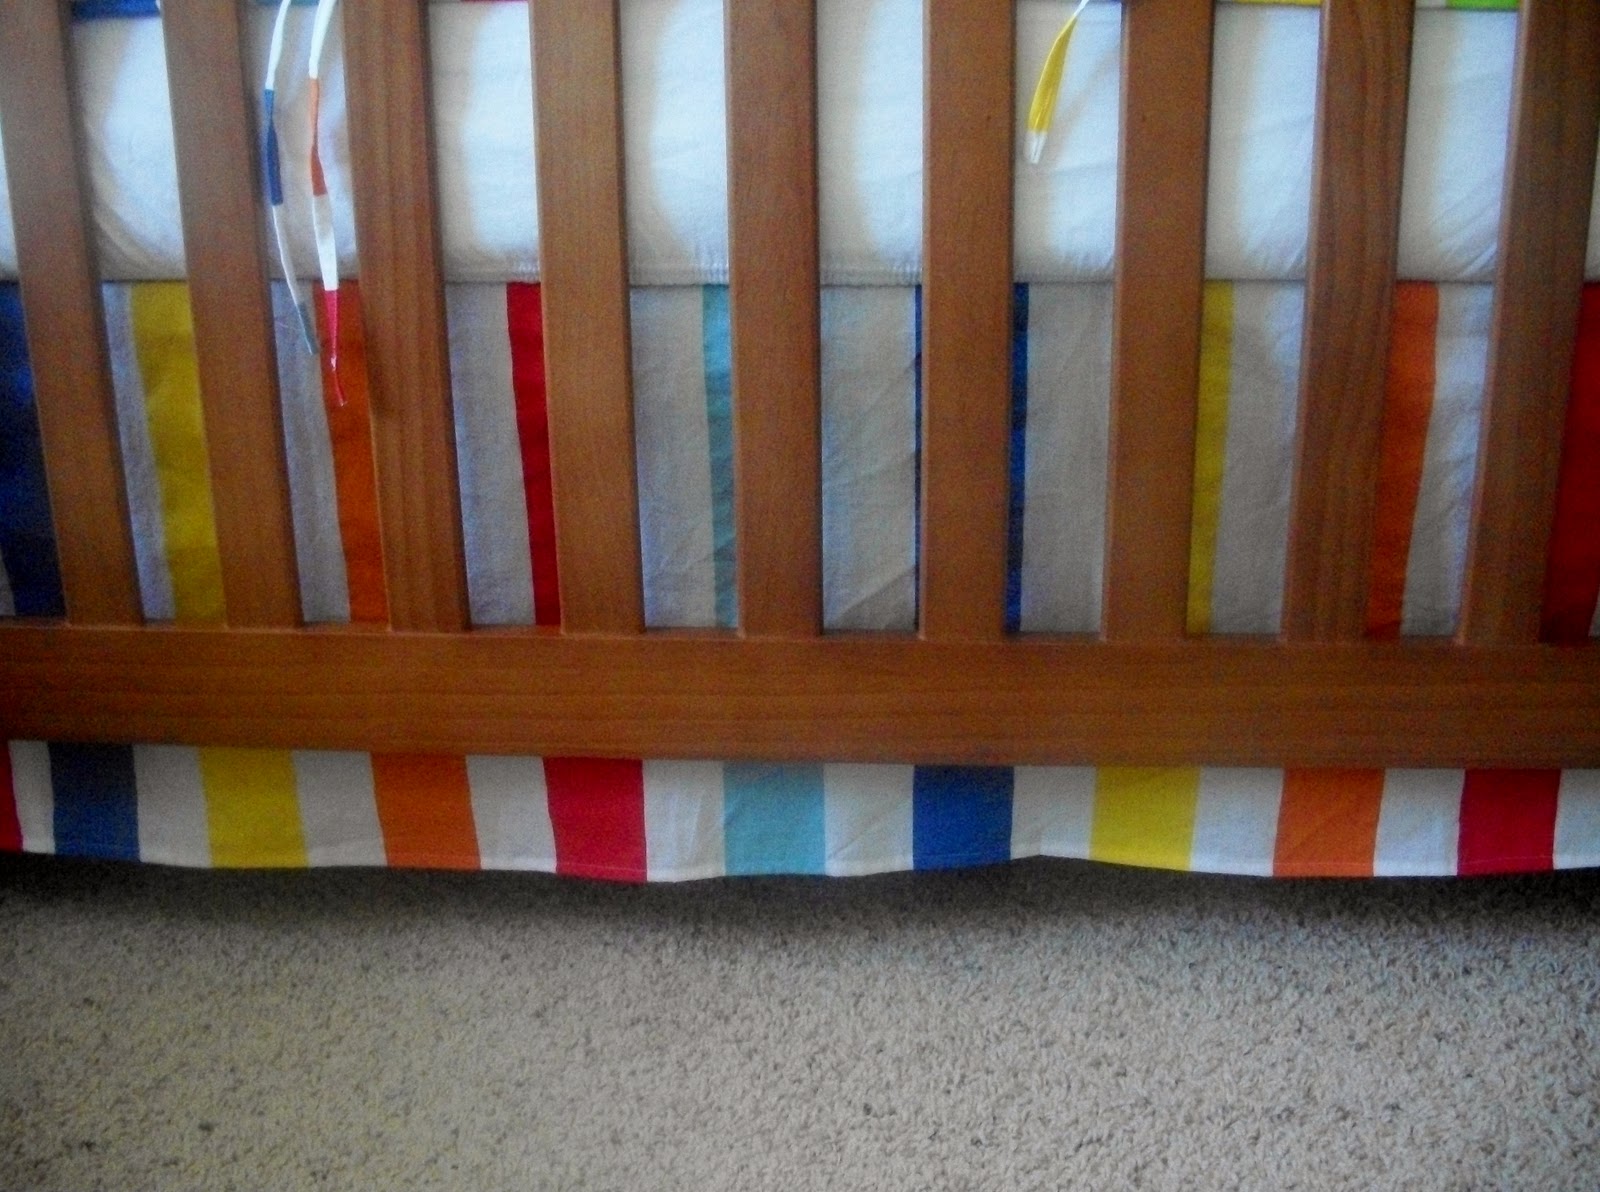
The first thing I made was a crib skirt. Brady's old crib skirt had pleats in it, but to make it easier, I left out the pleats. I re-used the white part that goes under the mattress, and just added the four panels of Ikea fabric, making sure to finish the edges. It was so easy, and it matches perfectly with everything else I made/ am making.
I forgot to take pictures before I put it on the crib, but energy is too important to me to take it off and put it on again for a picture. Trust me, it looks cute!
I am excited to show off the rest of the bedding sometime late next week. Until then I will be enjoying a magical vacation, hope you all have a great week!
Related Posts Plugin for WordPress, Blogger...